How to Choose the Right Components for Your Custom PC: A Comprehensive Guide
Understanding the Core Components
Building a custom PC starts with understanding the core components that will power your system. Each component has a unique role to play and choosing the right ones can make a significant difference in the performance and efficiency of your PC. Let’s delve deeper into each core component:
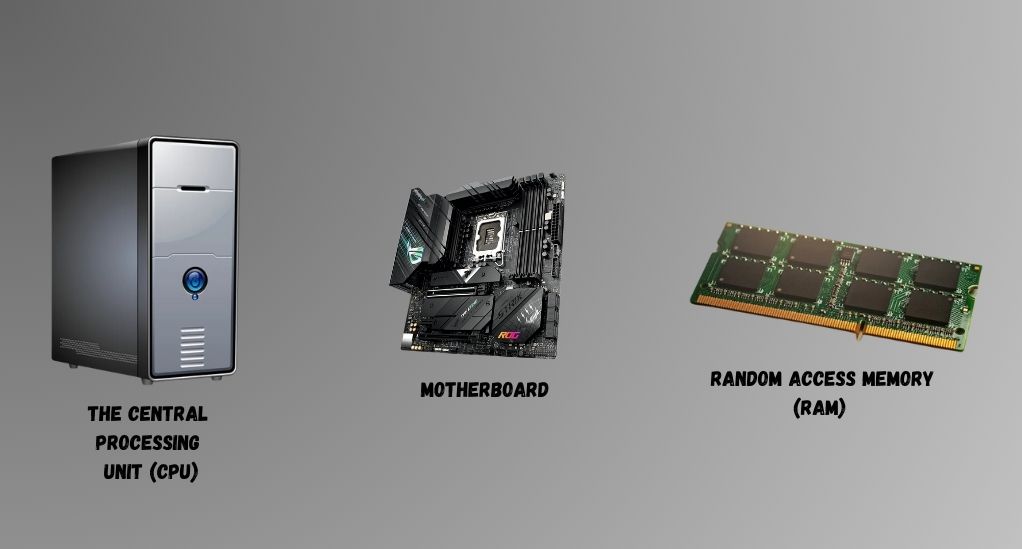
The Central Processing Unit (CPU)
The CPU is often referred to as the brain of the computer. It carries out instructions from programs and is a critical determinant of your PC’s performance. When choosing a CPU, consider the following:
- Core count: More cores allow for better multitasking and improved performance in multithreaded applications.
- Clock speed: A higher clock speed can offer better performance in single-threaded tasks.
- Cache: Larger cache sizes can help speed up repetitive tasks by storing information locally on the CPU.
Consider creating a comparison table that showcases different CPUs along with their core count, clock speed, and cache size to help readers make an informed decision.
The Motherboard
The motherboard is the main circuit board that houses the CPU and other critical components. Here are the key considerations:
- Form factor: The size of the motherboard, which should match your case size.
- Socket type: It should be compatible with your chosen CPU.
- Expansion slots: Ensure it has enough slots for your future expansion needs.
A visual guide or a table illustrating different motherboard form factors and their features can be a great addition here.
Random Access Memory (RAM)
RAM is the memory used to store data that is actively being used or processed. When choosing RAM, focus on:
- Capacity: More RAM allows for smoother multitasking and handling of larger files.
- Speed: Faster RAM can potentially increase system performance.
- Channels: Utilizing dual or quad-channel setups can improve memory bandwidth.
A RAM comparison table showcasing different capacities, speeds, and setups can be beneficial for readers.
Storage: HDD vs. SSD
Storage is where you keep all your files and applications. Understanding the difference between HDD and SSD is crucial:
- HDD: Traditional hard drives offer larger storage capacities at a lower cost but have slower read/write speeds.
- SSD: Solid-state drives are faster but generally more expensive per GB compared to HDDs.
A section that compares HDD and SSD, possibly through a table illustrating the pros and cons of each, would be very informative.
The Power Supply Unit (PSU)
The PSU converts electrical energy from an outlet into usable power for your PC’s components. Considerations include:
- Wattage: Ensure it provides enough power for all your components, with some headroom for future upgrades.
- Efficiency: Higher efficiency PSUs can save on electricity bills and generate less heat.
- Modularity: Modular PSUs allow for better cable management.
Graphics and Visual Performance
In the realm of custom PC building, graphics and visual performance hold a pivotal role, especially for gamers and content creators. This section will guide you through the essential components and considerations to achieve the best visual performance for your needs.
Graphics Processing Unit (GPU)
The GPU is responsible for rendering images and videos on your screen. It is a crucial component for gaming, video editing, and other graphics-intensive tasks. Here are the key aspects to consider:
- VRAM: The video memory used to store graphical data. More VRAM allows for higher resolution textures and more complex scenes.
- Core clock: The speed at which the GPU can execute instructions. Higher core clock speeds can offer better performance.
- Ray tracing: A technology that simulates realistic lighting and reflections, enhancing visual fidelity in supported games and applications.
Consider creating a table that compares popular GPUs, highlighting their VRAM, core clock speeds, and ray tracing capabilities.
Monitor Resolutions and GPU Performance
The resolution of your monitor can significantly affect the performance of your GPU. Here’s how to choose the right resolution:
- 1080p (Full HD): A popular choice for gaming, offering a good balance between performance and visual quality.
- 1440p (Quad HD): A step up from 1080p, offering sharper images but requiring more GPU power.
- 2160p (4K): Offers stunning detail but demands a high-end GPU to run smoothly, especially in graphically demanding tasks.
A comparison table showcasing different resolutions and the recommended GPUs for each would be a helpful addition.
DirectX and Ray Tracing
Understanding DirectX and ray tracing technologies can enhance your gaming and content creation experiences. Here’s what you need to know:
- DirectX: A collection of APIs used in PC gaming. Newer versions offer improved performance and visual features.
- Ray tracing: As mentioned earlier, it is a technology that enhances lighting and reflections in 3D environments. It requires a compatible GPU and support from the game or application.
Cooling and Thermal Management
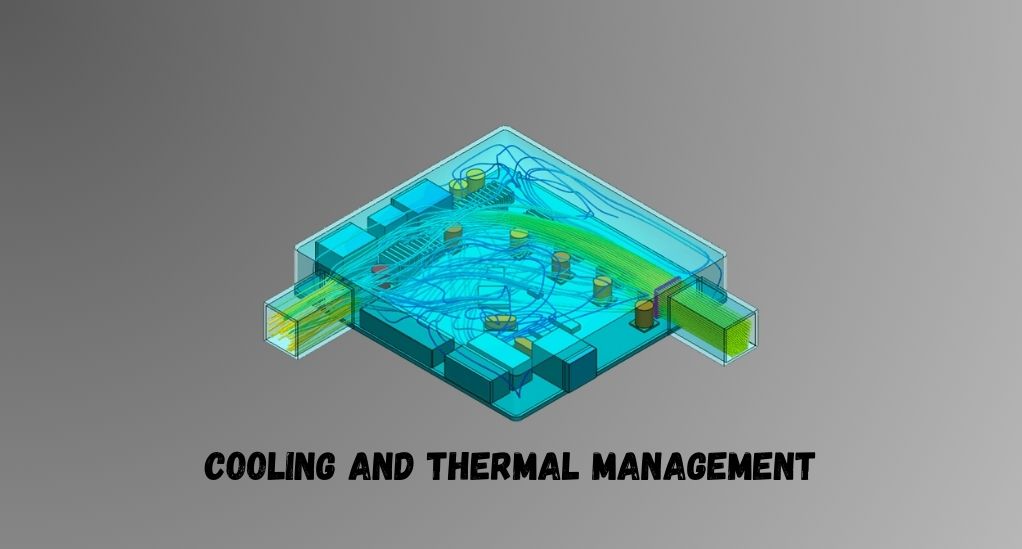
A well-cooled PC not only performs better but also enjoys a longer lifespan. In this section, we will explore the different cooling solutions and thermal management strategies to help you build a PC that remains cool under pressure.
Air vs. Liquid Cooling Systems
Understanding the pros and cons of air and liquid cooling systems is vital in choosing the right cooling solution for your PC. Here are the details:
- Air Cooling:
- Pros: Less expensive, easier to set up, generally more durable.
- Cons: Can be louder, occupies more space, less efficient in cooling high-end components.
- Liquid Cooling:
- Pros: More efficient in cooling high-end components, quieter operation, can offer a cleaner look.
- Cons: More expensive, potential for leaks, more maintenance required.
A comparison table illustrating the pros and cons of both cooling systems can be a great addition to this section.
Thermal Paste Application
The thermal paste forms a heat-conductive layer between your CPU and its cooler, enhancing the cooling efficiency. Here are the steps and considerations for applying thermal paste:
Clean the CPU Surface
Before you begin the application process, it is imperative to ensure that the CPU surface is pristine. Use a lint-free cloth along with a bit of isopropyl alcohol to clean the surface thoroughly, removing any remnants of old thermal paste or dust that might be present. This step is crucial as a clean surface ensures better adherence and a more effective heat transfer, facilitating optimal performance and longevity of your CPU.
Apply the Thermal Paste
Once the CPU surface is clean, the next step is to apply a pea-sized amount of high-quality thermal paste onto the center of the CPU. It is essential to use a thermal paste of good quality to ensure effective heat dissipation. The quantity is vital here; using too much can lead to spillover, potentially damaging other components, while using too little can result in inadequate cooling. A pea-sized amount generally suffices to cover the CPU adequately once spread.
Spread the Paste
After applying the thermal paste, you have two primary methods to spread it. The first method involves using a clean, lint-free plastic card to evenly spread the paste across the CPU surface, ensuring a uniform layer that covers the entire chip. The second method is to let the cooler do the job; when you mount the cooler, the pressure naturally spreads the paste evenly across the surface. Both methods have their proponents, and either can work well, so choose the one that you are most comfortable with.
Mount the Cooler
With the thermal paste applied, the final step is to mount the cooler onto the CPU. Place the cooler gently but firmly onto the CPU, ensuring that it aligns correctly with the mounting holes on the motherboard. Once aligned, secure it using the provided screws, applying even pressure to ensure a uniform spread of the thermal paste beneath. It is advisable to tighten the screws in a cross pattern to maintain even pressure. Once mounted, ensure that the cooler is stable and not wobbling, to guarantee effective heat dissipation during operations.
Including a step-by-step guide with images can help readers understand the process better.
Case Airflow and Fan Setup
Proper case airflow ensures that cool air is drawn in while hot air is expelled, maintaining optimal temperatures. Here’s how to achieve good airflow:
- Intake and exhaust fans: Set up fans to create a balanced airflow, with equal intake and exhaust to prevent air pressure issues.
- Fan size and speed: Larger, slower fans can often move the same amount of air as smaller, faster fans but more quietly.
- Positive pressure setup: Having more intake fans than exhaust can help reduce dust buildup inside the case.
Aesthetic and Functional Case Choices
Choosing the right case is a pivotal step in building your custom PC, as it not only houses all your components but also defines the look of your setup. In this section, we will explore the various factors to consider when selecting a case that is both functional and aesthetically pleasing.
Case Size and Compatibility with Components
The size of your case will dictate what components you can fit inside it. Here are the different case sizes and what they entail:
- Full Tower: Suitable for high-end builds with multiple GPUs and extensive cooling systems. They offer ample space for cable management and expansion.
- Mid Tower: The most popular choice, balancing space and compatibility with a wide range of components.
- Mini Tower: Ideal for compact builds, but with limited space for expansion and cooling solutions.
A comparison table showcasing different case sizes along with the components they can house would be a beneficial addition to this section.
Case Materials and Their Benefits
The material of your case can affect its durability, weight, and thermal performance. Here are the common materials used and their pros and cons:
- Steel: Durable and affordable but can be heavy.
- Aluminum: Lightweight and with good thermal conductivity but can be more expensive.
- Tempered Glass: Often used for side panels to showcase the internal components, adding a premium look but can be fragile.
A table illustrating the pros and cons of different materials can help readers make an informed choice.
Cable Management Solutions
A well-organized cable setup not only looks clean but also promotes better airflow. Here are some tips for effective cable management:
- Routing: Utilize the cable routing holes and channels provided in modern cases.
- Ties and Sleeves: Use cable ties and sleeves to bundle cables together neatly.
- Modular PSU: Opting for a modular PSU allows you to use only the cables you need, reducing clutter.
Peripheral Devices
Peripheral devices are the tools that allow you to interact with your custom PC. From the monitor to the keyboard and mouse, each device plays a crucial role in defining your computing experience. In this section, we will guide you through selecting the best peripherals to complement your custom PC build.
Choosing the Right Keyboard and Mouse
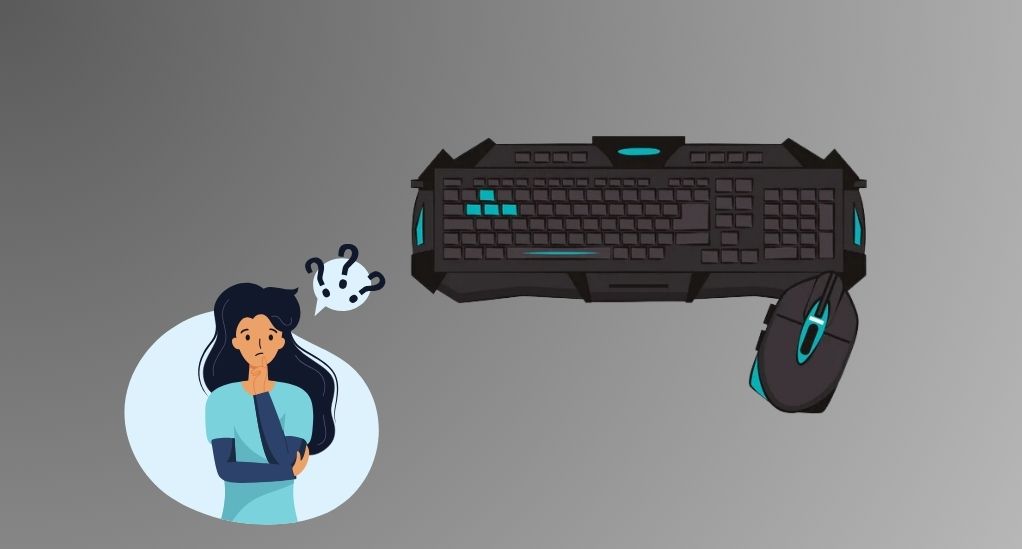
Your keyboard and mouse are your primary interfaces with your PC. Here’s how to choose the right ones:
- Keyboard:
- Mechanical vs. Membrane: Mechanical keyboards offer tactile feedback and durability, while membrane keyboards are quieter and generally more affordable.
- Backlighting: Consider keyboards with backlighting for a visually appealing setup and easier typing in low light conditions.
- Additional Features: Look for keyboards with programmable keys, wrist rests, and other features to enhance usability.
- Mouse:
- DPI: A higher DPI allows for more precise control, which can be especially beneficial in gaming.
- Ergonomics: Ensure the mouse fits comfortably in your hand to prevent strain during prolonged use.
- Additional Buttons: Some mice come with extra buttons that can be programmed for specific actions, enhancing productivity and gaming experiences.
A comparison table showcasing different keyboards and mice with their features and price ranges can be a helpful addition.
Monitor Selection: Resolution, Refresh Rate, and Panel Type
Your monitor is the window to all the performance your PC can deliver. Here are the key considerations:
- Resolution: Higher resolutions offer clearer, more detailed images. Common choices are 1080p, 1440p, and 4K.
- Refresh Rate: A higher refresh rate provides smoother visuals, essential for a great gaming experience.
- Panel Type: Different panel types such as IPS, VA, and TN offer varying balances of color accuracy, response time, and viewing angles.
A table comparing different monitors based on resolution, refresh rate, and panel type would be informative for readers.
Audio Solutions: Onboard vs. External DAC
The audio setup can significantly enhance your PC experience. Here’s what to consider:
- Onboard Audio: Modern motherboards come with decent onboard audio solutions, sufficient for casual users.
- External DAC: For audiophiles and professionals, an external Digital-to-Analog Converter (DAC) can offer superior audio quality.
- Speakers vs. Headphones: Your choice between speakers and headphones will depend on your personal preference and the acoustic environment of your setup.
Software and Operating System
Once the hardware setup of your custom PC is complete, the next crucial step is to install the right software and operating system to facilitate optimal performance and security. In this section, we will guide you through the essential considerations to help you make informed decisions.
Choosing the Right Operating System (OS)
The operating system is the backbone of your PC, facilitating the interaction between the hardware and the software. Here are the popular choices:
Windows
Windows stands as the most widely adopted operating system globally, a status it has achieved due to its user-friendly interface and a vast ecosystem that supports a plethora of software and games, both old and new. Developed by Microsoft, it offers various versions, with Windows 10 and the newly released Windows 11 being the most recent. These versions bring forward features like DirectX 12 for enhanced gaming performance, a dedicated Xbox app, and compatibility with various hardware configurations, making it a go-to choice for many, especially gamers and corporate environments. Moreover, it supports a wide range of productivity software, making it a versatile choice for both work and play.
Linux
Linux, an open-source operating system, is the preferred choice for developers and tech enthusiasts who appreciate a customizable and secure environment. It stands distinct with its kernel-based structure, offering a robust and stable platform that is less prone to malware and viruses compared to other OS. Linux distributions such as Ubuntu, Fedora, and Debian cater to different user preferences, offering variations that can suit both beginners and seasoned users. The OS is known for its high degree of customizability, allowing users to modify everything from its appearance to its core functionalities, making it a playground for individuals keen on learning and exploring the depths of operating system functionalities.
MacOS
Traditionally reserved for Apple’s ecosystem, MacOS offers a sleek, intuitive, and secure user experience, harmonizing perfectly with other Apple devices to offer features like Handoff, iCloud, and Continuity. While generally confined to Apple products due to hardware restrictions and warranty concerns, a niche community of tech enthusiasts builds “Hackintosh” systems, which are custom PCs capable of running MacOS. This endeavor, albeit complex, allows users to experience the streamlined MacOS environment without investing in Apple’s premium hardware. It is a path taken by those who appreciate the MacOS experience and are willing to delve deep into the technical nuances to build a system that meets Apple’s stringent hardware requirements for MacOS.
A comparison table illustrating the features, pros, and cons of different operating systems can be a great addition to this section.
Essential Software for Your Custom PC
After setting up the OS, installing essential software is the next step. Here is a list of software categories you might consider:
- Office Suite: Software like Microsoft Office or LibreOffice for document editing, spreadsheets, and presentations.
- Browser: A reliable web browser such as Chrome, Firefox, or Edge.
- Media Player: Software like VLC or Media Player Classic for playing various media formats.
- Graphics Driver: Ensure to install the latest drivers for your GPU to achieve optimal performance.
A section detailing the top choices in each software category, along with their features, would be very informative.
Security Software and Best Practices
Securing your PC against threats is paramount. Here are the considerations:
- Antivirus Software: Consider reputable antivirus software to protect your PC from malware and other threats.
- Firewall: Utilize a firewall to monitor and control network traffic, safeguarding your PC from unauthorized access.
- Regular Updates: Keep your OS and software updated to patch vulnerabilities and enhance security.
Building Your PC: Step-by-Step
After meticulously selecting each component and peripheral device, the exciting phase of assembling your custom PC begins. In this section, we will walk you through a step-by-step guide to building your PC, ensuring a smooth and rewarding experience.
Preparing the Workspace
Before you start assembling, it is crucial to prepare a conducive workspace. Here are the steps:
- Choose a Spacious Table: Ensure you have a large table with ample space to lay out all your components.
- Gather Necessary Tools: Typically, a Phillips-head screwdriver is the primary tool you’ll need.
- Anti-Static Measures: Consider using an anti-static wristband to prevent damaging sensitive components with electrostatic discharge.
A checklist of items to prepare before starting the build can be a helpful addition to this section.
Installing the Components
Now, let’s delve into the installation process, step by step:
- Motherboard: Start by installing the CPU, RAM, and cooler onto the motherboard before placing it in the case.
- Storage: Secure your HDD or SSD in the designated drive bays.
- Graphics Card: Install the GPU in the appropriate PCIe slot on the motherboard.
- Power Supply: Install the PSU and route the necessary cables to power the various components.
A detailed guide with images showcasing each step of the installation process can be a great addition to this section.
Initial Boot and BIOS Setup
After assembling the PC, it’s time to power it on and set up the BIOS:
- First Boot: Connect the monitor, keyboard, and mouse, and power on the PC. It should boot into the BIOS/UEFI screen.
- BIOS Setup: In the BIOS, you can configure hardware settings, set the boot order, and enable or disable various features.
- OS Installation: Insert the installation media for your chosen OS and follow the on-screen instructions to install it.
Conclusion
As we reach the end of this comprehensive guide, it is evident that building a custom PC is a journey that is as intricate as it is rewarding. The process allows you a deep dive into the world of technology, offering a rich understanding of how the components work harmoniously to bring to life a machine tailored to your preferences and needs. Whether it’s the satisfaction derived from selecting the perfect components that align with your aesthetic vision or the meticulous attention to detail in ensuring optimal thermal management, every step is a testament to the personalization and power that a custom PC embodies. Moreover, the knowledge acquired through this journey equips you with the skills to upgrade and maintain your PC, fostering a long-lasting relationship with your build.
As you stand on the threshold of creating something uniquely yours, remember that the custom PC building community is a vibrant and welcoming space, brimming with enthusiasts and experts alike, always ready to assist and share experiences. Forums, YouTube channels, and blogs are fantastic resources to enhance your understanding and to seek guidance. As you embark on this exciting venture, we wish you the very best. May your paths be clear of obstacles, and may you build a PC that not only meets but exceeds your expectations, offering you unparalleled performance and a deep sense of fulfillment.