How to Assemble Your PC: A Step-by-Step Guide
Building your own PC is not just a means to an end, but a joyful journey filled with learning and personal growth. It allows for a tailored computing experience, where you can choose components based on your preferences and needs, potentially saving money in the process. This guide aims to equip you with the knowledge to embark on this rewarding endeavor, helping you understand the benefits of a personalized PC and what you will gain from this comprehensive step-by-step manual. Prepare to dive deep into the world of PC assembly, a skill that promises both personal and financial rewards.
Preparing for the Build
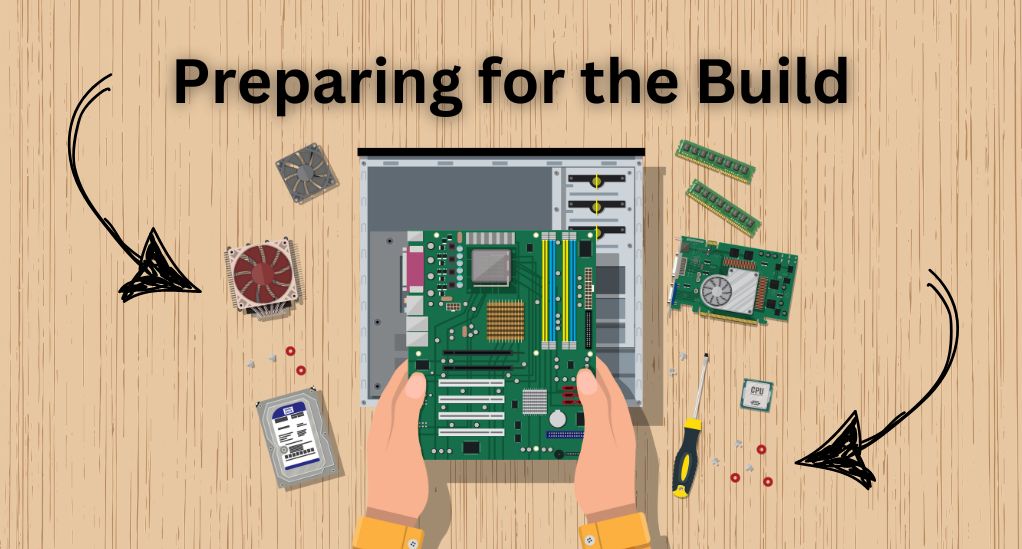
Before you start assembling your PC, it is crucial to prepare adequately. This preparation involves setting a budget, choosing the right components, and gathering the necessary tools. Let’s delve into each step:
Setting a Budget for Your PC Build
Determining your budget is the first and most crucial step in the process. Your budget will guide your choices in selecting the other components. It is advisable to allocate your budget wisely to get the best value without compromising on performance.
Choosing the Right Components
Once the budget is set, the next step is to choose the right components that align with your needs and financial plan. Here, we will explore the core components one by one:
Processor (CPU)
The CPU is the brain of your computer. When choosing a CPU, consider factors like the number of cores, speed, and compatibility with the motherboard. You might want to compare different CPUs in a table to understand their specifications better.
| CPU Model | Cores | Speed | Price |
|---|---|---|---|
| Example 1 | 4 | 3.5 GHz | $200 |
| Example 2 | 8 | 3.0 GHz | $300 |
Motherboard
The motherboard is like the backbone that holds all the components together. Ensure it is compatible with the CPU and has enough ports for all your peripherals.
Memory (RAM)
RAM is where the ongoing tasks are stored temporarily. For a smooth performance, a minimum of 8GB RAM is recommended, but for more intensive tasks, 16GB or 32GB would be better.
Storage (HDD/SSD)
When it comes to storage, you have two main options: HDD and SSD. SSDs are faster but more expensive, while HDDs offer more storage space at a lower cost. You might opt for a combination of both to enjoy the benefits of speed and storage capacity.
Power Supply Unit (PSU)
The PSU is responsible for supplying power to your computer. It is vital to choose a PSU with the right wattage to support all your components efficiently.
Graphics Card (GPU)
If you are a gamer or a content creator, investing in a good GPU is essential. It handles the visual output and ensures you get high-quality graphics.
Cooling System
A good cooling system prevents overheating, ensuring the longevity of your PC components. You can choose between air and liquid cooling systems based on your preference and budget.
Gathering the Necessary Tools
Finally, gather all the necessary tools, including a screwdriver, to assemble the components. Ensure you have a static-free workspace to prevent any damage to the components.
Setting Up Your Workspace
Before you dive into the exciting process of assembling your PC, setting up a conducive workspace is paramount. This involves choosing the right environment, organizing your components and tools, and taking necessary safety precautions. Let’s delve deeper into each aspect:
Choosing a Clean and Spacious Workspace
Selecting a clean and spacious workspace is the first step in setting up your workspace. Ensure the area is free from dust and debris to prevent any particles from getting into the PC components. A spacious area will allow you to lay out all the components clearly, facilitating a smoother assembly process. Consider a table with ample space and good lighting to work comfortably.
Organizing Your Components and Tools
Once you have chosen the right space, the next step is to organize your components and tools systematically. Here is a suggested way to organize them:
- Components: Arrange them based on the order of assembly, keeping similar items together. For instance, keep all the screws in one container.
- Tools: Have a separate section for tools such as screwdrivers, ensuring they are within reach when needed.
Safety Precautions to Prevent Electrostatic Discharge (ESD)
Safety should be your utmost priority while assembling a PC. Electrostatic discharge (ESD) can cause irreversible damage to the components. To prevent ESD:
- Work on a non-carpeted floor: This reduces the chances of generating static electricity.
- Use an anti-static wristband: This tool helps in grounding you, preventing any static discharge that can occur.
- Handle components by the edges: To avoid direct contact with the circuits, always hold the components by their edges.
Assembling the Core Components
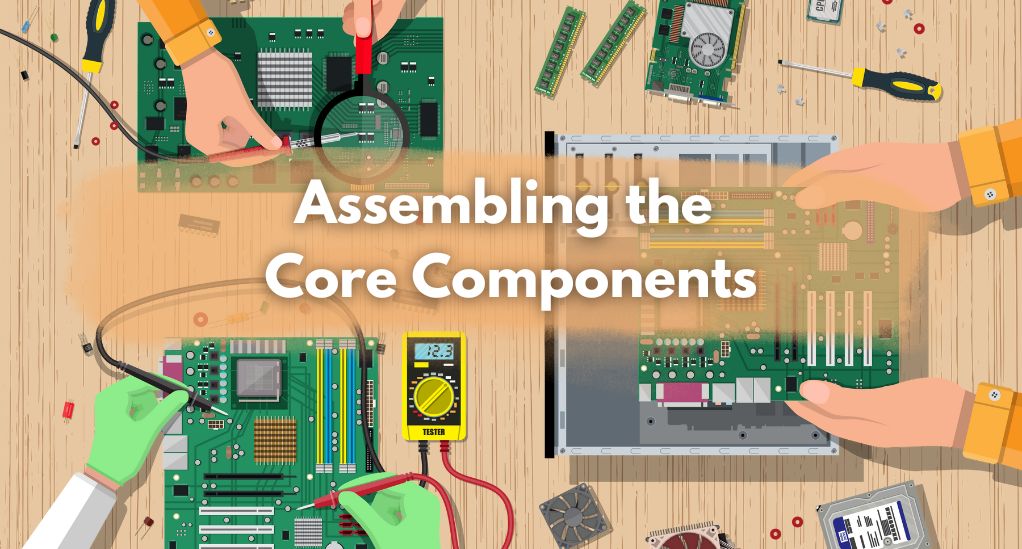
After setting up your workspace and organizing all the necessary components and tools, it’s time to delve into the heart of the process: assembling the core components of your PC. This stage is critical as it forms the foundation of your build. Let’s break down each step:
Installing the CPU on the Motherboard
The first step is to install the CPU, which is often regarded as the brain of the computer. Follow these steps meticulously:
- Open the CPU socket: On the motherboard, locate the CPU socket and lift the retention arm to open it.
- Align the CPU: Take the CPU out of its packaging and align it with the socket, matching the golden triangle on the CPU with the triangle on the socket.
- Secure the CPU: Gently place the CPU into the socket without forcing it, and then lower the retention arm to secure it in place.
Installing the RAM
Next, we move on to installing the RAM, which is responsible for your system’s speed and performance. Here’s how to go about it:
- Open the RAM slots: On the motherboard, open the clips of the RAM slots where you intend to install the memory sticks.
- Align the RAM: Align the notch on the RAM stick with the notch on the slot.
- Insert the RAM: Apply even pressure on both ends of the RAM stick to insert it securely into the slot until the clips snap back into place.
Setting Up the Cooling System
Setting up a proper cooling system is vital to prevent overheating. Follow these steps:
- Prepare the surface: Clean the surface of the CPU with isopropyl alcohol and a lint-free cloth.
- Apply thermal paste: Apply a small amount of thermal paste on the CPU, spreading it evenly.
- Install the cooler: Align the cooler with the mounting holes on the motherboard and secure it with the appropriate screws.
Installing the Motherboard in the Case
Finally, it’s time to install the motherboard in the case, bringing together all the components you’ve assembled so far:
- Install the I/O shield: First, install the I/O shield that comes with the motherboard in the case.
- Place the motherboard: Carefully place the motherboard inside the case, aligning it with the standoffs and the I/O shield.
- Secure the motherboard: Using the screws provided, secure the motherboard to the standoffs in the case.
Adding the Peripherals
With the core components in place, the next step in your PC building journey involves adding the peripherals, which include installing the power supply, setting up the storage drives, and installing the graphics card. Let’s delve into each step in detail:
Installing the Power Supply
The power supply unit (PSU) is responsible for distributing electricity to all components. Here is how to install it:
- Choose the correct PSU: Ensure your PSU can supply enough wattage to support all your components.
- Prepare the case: Before installing the PSU, make sure the area in the case where the PSU will be placed is clean and free from any obstructions.
- Secure the PSU: Place the PSU in its designated area in the case and secure it using the screws provided, ensuring the fan faces outward to expel heat.
Setting Up the Storage Drives (HDD/SSD)
Storage drives are where you’ll store all your data. Here’s how to set them up:
- Identify the drive bays: Locate the drive bays in your case where the HDD and SSD will be installed.
- Secure the drives: Slide the drives into the appropriate bays and secure them with screws.
- Connect the drives: Using SATA cables, connect the drives to the motherboard and the power cables from the PSU.
Installing the Graphics Card
The graphics card is essential for rendering images and videos. Here’s how to install it:
- Prepare the case: Open the case and locate the PCIe slot on the motherboard where the graphics card will be installed.
- Secure the graphics card: Align the graphics card with the PCIe slot and press it down firmly until it clicks into place.
- Connect power cables: If your graphics card requires additional power, connect the necessary power cables from the PSU.
Cable Management
As you approach the final stages of your PC build, managing the cables efficiently is a crucial step to ensure not only a neat appearance but also optimal airflow and ease of maintenance. Let’s delve into the detailed process of managing cables effectively:
Planning the Cable Routes
Before you start connecting the cables, it is essential to plan the routes strategically to avoid a cluttered setup. Here are the steps:
- Identify Cable Points: Start by identifying the points where different cables will connect on the motherboard and other components.
- Group Similar Cables: Group similar cables together, such as power cables and data cables, to streamline the routing process.
- Visualize the Path: Visualize the most straightforward path for each group of cables, avoiding any cross-over to maintain a clean look.
Connecting the Cables Neatly
Connecting the cables neatly is vital to achieving a clean and organized setup. Follow these steps:
- Start with Larger Cables: Begin by connecting larger cables, such as the 24-pin motherboard power cable, followed by smaller cables.
- Use Cable Ties: Use cable ties to bundle cables together neatly, ensuring they are tight but not overly strained to prevent damage.
- Test the Connections: Before finalizing the setup, test all the connections to ensure they are secure and functioning correctly.
Tips for Efficient Cable Management
To further enhance your cable management skills, here are some tips:
- Use Cable Channels: If your case comes with cable channels, utilize them to route cables neatly behind the motherboard tray.
- Label the Cables: Labeling cables can be a lifesaver for future upgrades or troubleshooting, helping you quickly identify each cable’s purpose.
- Regular Maintenance: Regular maintenance, including dusting and checking the cable conditions, ensures a long-lasting and efficient setup.
Installing the Operating System
Once your hardware setup is complete, the next pivotal step is installing the operating system (OS) that will drive your PC. This process involves choosing the right OS, creating a bootable USB drive, and finally installing the OS. Let’s delve into each step:
Choosing the Right Operating System for Your Needs
Selecting an appropriate operating system is crucial as it forms the backbone of your PC’s functionality. Here are the steps and considerations:
- Research Different OS Options: Familiarize yourself with the popular OS options available, such as Windows, Linux, and macOS, and understand their pros and cons.
- Consider Your Needs: Tailor your choice based on your needs, whether it be gaming, content creation, or general use.
- Hardware Compatibility: Ensure the chosen OS is compatible with your hardware setup to avoid any compatibility issues later on.
Creating a Bootable USB Drive
A bootable USB drive will serve as the medium to install your chosen OS. Here is how to create one:
- Acquire a USB Drive: Get a USB drive with a minimum storage capacity of 8GB.
- Download OS Installation Files: Download the installation files of your chosen OS from the official website.
- Create the Bootable Drive: Use software like Rufus (for Windows) or UNetbootin (for Linux) to create a bootable USB drive by following the on-screen instructions.
Installing the Operating System
With the bootable USB drive ready, it’s time to install the OS. Follow these steps:
- Insert the USB Drive: Insert the bootable USB drive into a USB port on your PC.
- Boot from the USB Drive: Restart your PC and enter the BIOS/UEFI settings to select the USB drive as the primary boot device.
- Follow the Installation Wizard: Once the PC boots from the USB drive, follow the installation wizard’s on-screen instructions to install the OS, setting up user accounts and preferences as prompted.
Testing and Troubleshooting
After installing the operating system, the next phase involves booting up your PC for the first time, installing the necessary drivers, and ensuring everything runs smoothly. This section will guide you through the testing and troubleshooting process, helping you to address common issues and find help online if necessary. Let’s explore each step:
Booting up the PC for the First Time
Booting up your newly assembled PC is a moment of truth. Here is how to go about it:
- Check All Connections: Before powering on, ensure all cables are correctly connected.
- Power On: Turn on the PC and monitor the startup process, looking out for any error messages or beeps.
- BIOS/UEFI: Initially, your PC will enter the BIOS/UEFI where you can verify that all hardware components are detected correctly.
Installing Necessary Drivers
Once the system boots successfully, the next step is to install the necessary drivers to ensure optimal performance:
- Motherboard Drivers: Start by installing the drivers for your motherboard, which can be found on the manufacturer’s website.
- Graphics Card Drivers: Next, install the drivers for your graphics card from the official website of the GPU manufacturer.
- Peripheral Drivers: Lastly, install drivers for peripherals such as printers and scanners, if any.
Troubleshooting Common Issues
Despite meticulous assembly, you might encounter issues. Here are steps to troubleshoot common problems:
- No Power: If the system doesn’t power on, check the PSU connections and ensure the switch at the back of the PSU is turned on.
- No Display: In case of no display, verify that the monitor is connected to the correct port on the graphics card.
- Overheating: Overheating can be due to improper installation of the cooling system. Check the cooler’s seating and thermal paste application.
Tips for Seeking Help Online
If you encounter issues that you cannot resolve, seeking help online can be beneficial. Here are some tips:
- Forums and Communities: Platforms like Reddit and tech forums can be great places to seek advice.
- Detailed Description: When seeking help, provide a detailed description of the issue, including the steps you have already taken to resolve it.
- Visual Aids: Including photos or videos of the problem can often facilitate quicker and more accurate assistance.
Conclusion
As we draw to the close of this comprehensive guide, it is essential to pause and appreciate the enriching journey you have undertaken. Building a PC from scratch is not merely a technical endeavor; it is a pathway to acquiring a deeper understanding and a rewarding learning experience. Throughout this guide, we have meticulously navigated the multifaceted process of assembling a PC, initiating with the fundamental step of preparation where we delineated setting a budget, choosing the apt components, and gathering the requisite tools.
Following this, we underscored the importance of establishing a conducive workspace characterized by cleanliness and organization. The subsequent segments delved deep into the assembly of core components, laying a robust foundation for your build, and the addition of peripherals to enhance your PC’s functionality. A significant focus was also bestowed upon the pivotal role of efficient cable management in ensuring a neat setup. As we progressed, we ventured into the realms of operating system installation, guiding you in selecting and setting up an OS that aligns seamlessly with your needs. The final stages encompassed a detailed walkthrough of the testing and troubleshooting process, facilitating a smooth and successful setup.