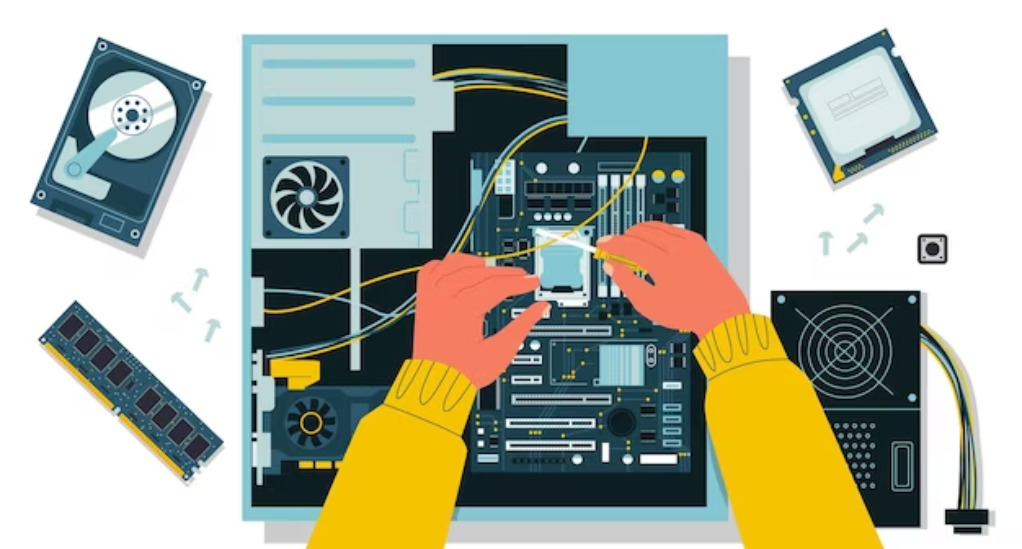
How to Assemble Your PC: A Step-by-Step Guide
Building your own PC can be an exhilarating experience. Not only does it offer a sense of accomplishment, but it also provides an opportunity to tailor a machine to your specific needs. Whether you’re a gamer seeking high frame rates, a content creator needing vast storage, or simply a tech enthusiast wanting to understand the intricacies of a computer, assembling a PC is a journey worth undertaking. In this section, we’ll provide a brief overview of the process and delve into the importance of understanding each component.
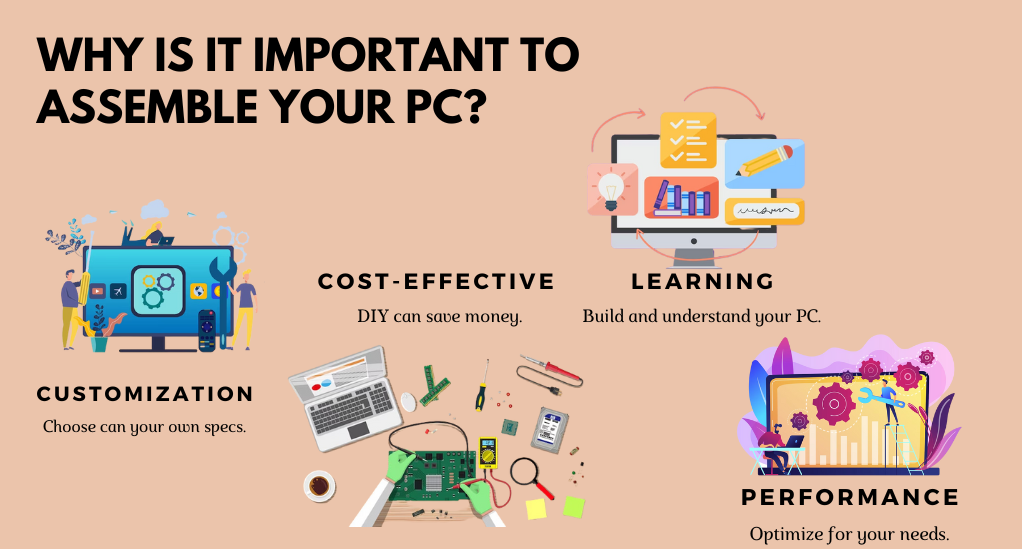
Why Assemble Your Own PC?
There are several compelling reasons to consider building your own computer:
- Customization: Pre-built systems often come with generic specifications. Building your own allows you to pick and choose components based on your requirements.
- Cost-Effective: Purchasing individual components can be more cost-effective than buying a pre-built system, especially if you’re aiming for high-end specifications.
- Learning Experience: Assembling a PC provides a hands-on experience, helping you understand the function and importance of each component.
- Performance: Tailoring your PC ensures that you get the best performance for your specific needs, be it gaming, content creation, or multitasking.
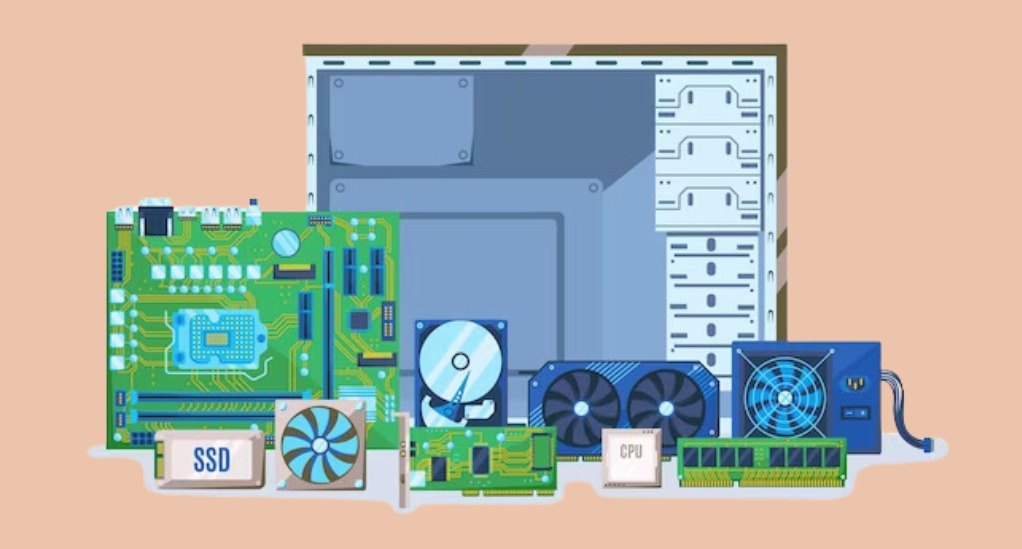
Understanding the Components
Before diving into the assembly, it’s crucial to familiarize yourself with the primary components of a PC:
| Component | Function |
|---|---|
| CPU (Central Processing Unit) | Often referred to as the “brain” of the computer, it handles most of the processing inside the PC. |
| Motherboard | A large circuit board that connects all the components. It dictates the type and number of components you can use. |
| RAM (Random Access Memory) | Temporary storage that the CPU uses to store data for quick access. |
| Storage (HDD, SSD, M.2) | Permanent storage solutions for your data, software, and OS. |
| GPU (Graphics Processing Unit) | Handles rendering images and videos. Essential for gaming and graphic-intensive tasks. |
| PSU (Power Supply Unit) | Converts electricity from your wall outlet to a form that the components of your computer can use. |
| Cooling Systems | Keeps the temperature of your PC components down. Includes fans, heatsinks, and liquid cooling solutions. |
As we progress through this guide, we’ll delve deeper into each component, ensuring you have a comprehensive understanding of their roles and how they fit into the bigger picture. By the end of this journey, you’ll be well-equipped to assemble a PC that’s perfect for your needs.
Gathering the Right Components
Once you’ve grasped the basics of PC components, the next step is to select the right parts for your build. This phase is crucial, as the components you choose will determine the performance, longevity, and overall experience of your PC.
Setting Your Goals
Before you start shopping, it’s essential to define what you want from your PC. Are you building a gaming rig to play the latest AAA titles? Perhaps you’re a digital artist in need of a machine that can handle graphic-intensive software? Or maybe you’re looking for a general-purpose computer for everyday tasks? By setting clear goals, you can ensure that you invest in components that align with your needs.
Budget Considerations
While we all dream of having a top-of-the-line PC, budget constraints are a reality for most. Determine a budget range for your build. Remember, it’s not always about getting the most expensive parts, but rather the most value for your money. Sometimes, mid-range components can offer performance close to high-end ones at a fraction of the cost.
Compatibility is Key
One of the most common pitfalls in PC building is purchasing incompatible components. Here are some things to keep in mind:
- Motherboard and CPU: Ensure that the CPU socket type matches the motherboard. For instance, an Intel LGA1200 CPU won’t fit in an AM4 socket for AMD CPUs. Even with Intel, there can be different sockets, such as the newest LGA1700; the same is true for AMD, with sockets like AM4 and AM5.
- RAM: Check the motherboard’s supported RAM type (e.g., DDR4, DDR5) and speed. Also, consider the maximum RAM capacity it can handle.
- Storage: Modern motherboards come with M.2 slots for faster NVMe SSDs. Ensure your chosen storage type is supported.
- GPU: While most GPUs use a standard PCIe slot, ensure your chosen card’s size will fit in your case and that your PSU can handle its power requirements.
Reading Reviews and Benchmarks
Before finalizing any component, it’s wise to read reviews and check benchmarks. Websites like Tom’s Hardware and PCMag offer detailed reviews and performance tests for various components. User reviews on retail sites can also provide insights into real-world performance and potential issues.
Future-Proofing
Technology evolves rapidly. While it’s impossible to have a PC that remains top-tier forever, you can make choices that extend the relevancy of your build. Opt for components that are newly released or are considered to be ahead of the curve. This might mean investing a bit more now but can save you from frequent upgrades in the near future.
Common Mistakes to Avoid
Embarking on the journey of building your own PC is thrilling, but it’s not without its challenges. Even seasoned builders can sometimes overlook details that can lead to potential issues. In this section, we’ll highlight frequent errors made by beginners and provide tips to prevent them.
1. Not Grounding Yourself
The Mistake: Static electricity can damage sensitive PC components. Many first-time builders overlook the importance of grounding themselves before handling parts.
The Solution: Always work on a non-static surface. Consider using an anti-static wrist strap that connects to a grounded object, ensuring any static electricity from your body is safely discharged.
2. Forgetting the I/O Shield
The Mistake: The I/O shield, a small metal plate that comes with the motherboard, is often forgotten until after the motherboard is secured in the case.
The Solution: Before installing the motherboard, snap the I/O shield into the back of the case. It should fit snugly and align with the motherboard’s ports.
3. Applying Too Much Thermal Paste
The Mistake: Over-applying thermal paste can lead to inefficient cooling and potential spills onto the motherboard.
The Solution: A pea-sized amount of thermal paste is typically sufficient. Once the cooler is placed on the CPU, it will spread the paste evenly.
4. Not Checking PSU Wattage
The Mistake: Underestimating the power requirements of your components can lead to system instability or even hardware failure.
The Solution: Calculate the total power draw of your components and choose a PSU that exceeds this number by at least 20%. This not only ensures stability but also accounts for potential future upgrades.
5. Overlooking BIOS Updates
The Mistake: New components, especially CPUs, might require a BIOS update to function correctly with older motherboards.
The Solution: Before building, check the motherboard manufacturer’s website for any BIOS updates. If needed, update the BIOS using a compatible CPU before installing the new one.
6. Incorrect RAM Slot Usage
The Mistake: Placing RAM sticks in the wrong slots can prevent dual or quad-channel memory configurations from working correctly.
The Solution: Refer to the motherboard’s manual to identify the correct slots for RAM placement, ensuring optimal performance.
7. Forcing Component Connections
The Mistake: Forcing cables or components into slots can damage pins and connectors.
The Solution: Always double-check orientations and ensure you’re connecting components to their correct slots or ports. If it doesn’t fit easily, it’s likely not aligned correctly.
Prepping the Motherboard
The motherboard serves as the central hub for all your components, making its preparation a critical step in the PC building process. Properly setting up the motherboard outside the case can simplify the later stages of the build. Let’s dive into the essential steps for motherboard preparation.
1. Choosing a Safe Workspace
The Importance: Working on a clean, flat, and non-static surface ensures the safety of your components and provides ample space for organization.
The Action: Clear a workspace, preferably on a wooden or laminated table. Lay down an anti-static mat if you have one. Keep all your tools and components within arm’s reach.
2. CPU Installation
The Importance: The CPU is the heart of your PC. Proper installation ensures optimal performance and prevents potential damage.
The Action:
- Identify the CPU socket on the motherboard. Lift the retention arm.
- Align the CPU’s gold triangle with the triangle on the socket. Gently place the CPU into the socket without applying pressure.
- Once aligned, lower the retention arm to secure the CPU in place.
3. Memory (RAM) Installation
The Importance: RAM provides the necessary temporary storage for your CPU to function efficiently. Correct installation ensures optimal data transfer speeds.
The Action:
- Refer to the motherboard manual to identify the recommended slots for your RAM configuration.
- Open the clips on the RAM slots.
- Align the notch on the RAM stick with the notch on the slot. Firmly press down on the RAM until the clips snap into place.
4. M.2 SSD Installation
The Importance: M.2 SSDs offer faster data transfer speeds compared to traditional SSDs and HDDs. Proper installation ensures they function at peak performance.
The Action:
- Locate the M.2 slot on the motherboard.
- Insert the M.2 SSD at a slight angle, then press it down.
- Secure the SSD with the provided screw.
5. Installing the CPU Cooler
The Importance: Efficient cooling prolongs the life of your CPU and ensures stable performance.
The Action:
- If using an air cooler, place it over the CPU, ensuring the contact plate aligns with the CPU. Secure it using the provided screws or clips.
- For liquid coolers (AIO), attach the pump over the CPU and secure it. The radiator will be installed in the case at a later stage.
6. Checking Component Placement
The Importance: Ensuring all components are securely and correctly placed on the motherboard prevents issues during the final assembly.
The Action:
- Double-check all installations. Ensure the CPU, RAM, and M.2 SSD are securely in place.
- Ensure no loose screws or tools are on or around the motherboard.
Setting Up the Case
The case houses all your components, ensuring they’re protected and adequately cooled. Proper setup of the case is essential for airflow, aesthetics, and ease of maintenance. Let’s explore the steps to optimally set up your chosen case.
1. Familiarizing Yourself with the Case
The Importance: Every case is unique, with different mounting points, cable routing options, and fan placements.
The Action:
- Examine the case to identify where the motherboard standoffs are located.
- Locate the front panel connectors, fan connectors, and any pre-installed cables.
- Identify where the PSU, HDDs, SSDs, and potential optical drives will be placed.
2. Installing the I/O Shield
The Importance: The I/O shield provides a protective barrier against dust and aligns with the motherboard’s external ports.
The Action:
- If not pre-installed, snap the I/O shield (which came with the motherboard) into the rectangular slot at the back of the case.
3. Mounting the Motherboard
The Importance: Securely mounting the motherboard prevents potential short circuits and ensures all ports align with the I/O shield.
The Action:
- Lower the motherboard into the case, aligning the screw holes with the standoffs and the ports with the I/O shield.
- Secure the motherboard using the provided screws, but avoid over-tightening.
4. Setting Up the Cooling System
The Importance: Proper cooling ensures longevity and optimal performance of your components.
The Action:
- If using an AIO liquid cooler, mount the radiator to the designated area (either the top or front of the case, depending on size and preference).
- Ensure case fans are oriented correctly: front and bottom fans should intake air, while top and rear fans should exhaust air out of the case.
5. Power Supply Unit (PSU) Installation
The Importance: The PSU provides power to all your components. Its placement affects cable management and airflow.
The Action:
- Slide the PSU into its designated compartment, ensuring the fan faces outward or downward (based on case design).
- Secure the PSU using the provided screws.
6. Routing Cables
The Importance: Proper cable management improves airflow, aesthetics, and ease of maintenance.
The Action:
- Begin by routing the motherboard’s power cable, CPU power cable, and any additional power cables required for GPUs or other components.
- Use the case’s designated cable routing channels or cutouts to neatly route cables, keeping them organized and out of the main airflow path.
- Secure loose cables using zip ties or Velcro straps.
7. Front Panel Connectors
The Importance: These connectors ensure the power button, reset button, and front I/O ports function correctly.
The Action:
- Locate the front panel connectors from the case (usually labeled).
- Refer to the motherboard manual to identify where each connector should be placed on the motherboard and attach them accordingly.
Final Touches and Testing
As you approach the finish line of your PC building journey, it’s essential to ensure that every component is correctly connected and ready for action. This section will guide you through the final steps, ensuring that when you press the power button, your PC springs to life without a hitch.
1. GPU (Graphics Processing Unit) Installation
The Importance: The GPU handles all visual outputs, making it crucial for tasks like gaming, video editing, and graphic design.
The Action:
- Identify the PCIe x16 slot on the motherboard, typically the topmost slot.
- Gently insert the GPU, ensuring it clicks into place.
- Secure the GPU using the provided screws on the case’s rear expansion slots.
2. Storage Device Connections
The Importance: Your HDDs, SSDs, and M.2 drives store all your data, software, and the operating system.
The Action:
- For traditional HDDs and SSDs, slide them into their respective bays and secure them with screws.
- Connect SATA data cables from the drives to the motherboard and SATA power cables from the PSU to the drives.
3. Ensuring All Cables Are Connected
The Importance: Loose or disconnected cables can prevent the PC from functioning correctly.
The Action:
- Double-check all power cables, ensuring the motherboard, CPU, GPU, and storage devices are powered.
- Ensure all data cables, like SATA and front panel connectors, are securely connected.
4. Powering On for the First Time
The Importance: The initial power-up is a crucial moment to identify if all components are working harmoniously.
The Action:
- Connect the monitor, keyboard, and mouse.
- Switch on the PSU, then press the case’s power button.
- Observe any motherboard LED indicators or beep codes. These can provide insights if there are issues.
- Ensure the system posts, and you see the BIOS or UEFI screen on the monitor.
5. BIOS/UEFI Check
The Importance: The BIOS/UEFI is the firmware interface between the PC’s hardware and the operating system. Initial checks can ensure component compatibility and performance.
The Action:
- Navigate the BIOS/UEFI to ensure the CPU, RAM, GPU, and storage devices are detected.
- Set the correct date and time.
- If you’re familiar, you can also adjust settings like boot order or enable XMP profiles for RAM.
6. System Shutdown and Cable Management
The Importance: After ensuring everything works, it’s time to make the build aesthetically pleasing and improve airflow.
The Action:
- Power down the system.
- Use zip ties or Velcro straps to bundle cables together, ensuring they’re neat and out of primary airflow paths.
- Tuck away excess cables in the case’s designated compartments or behind the motherboard tray.
Software Installation and Setup
Now that the hardware is in place, it’s time to breathe life into your PC with the necessary software. This section will guide you through installing an operating system, drivers, and essential applications, ensuring your PC is optimized and ready for any task.
1. Choosing and Installing an Operating System (OS)
The Importance: The OS serves as the interface between the user and the hardware, making it the backbone of your PC experience.
The Action:
- Windows: The most popular choice for gaming and general use. To install, create a bootable USB drive using the Windows Media Creation Tool and follow the on-screen instructions.
- Linux: A free and open-source option with various distributions like Ubuntu, Fedora, and Mint. Choose a distribution, download the ISO file, create a bootable USB, and follow the installation guide specific to that distribution.
- macOS: Exclusive to Apple hardware, but can be installed on custom PCs through a process called Hackintosh, although it’s more complex and not always recommended due to potential compatibility issues.
2. Installing Drivers
The Importance: Drivers ensure that the OS can communicate effectively with your hardware components.
The Action:
- Motherboard/Chipset Drivers: Visit the motherboard manufacturer’s website and download the latest drivers, including SATA, audio, LAN, and chipset drivers.
- GPU Drivers: For NVIDIA and AMD graphics cards, visit their respective websites to download the latest drivers. This ensures optimal graphics performance and stability.
- Peripheral Drivers: If you have specialized peripherals like gaming mice, printers, or drawing tablets, download their respective drivers from the manufacturer’s website.
3. Essential Software Installation
The Importance: Basic software enhances the functionality and security of your PC.
The Action:
- Web Browsers: Chrome, Firefox, Edge, or Safari.
- Antivirus and Malware Protection: Options include Windows Defender (built into Windows), Avast, AVG, or Malwarebytes.
- Office Suite: Microsoft Office, LibreOffice, or Google Workspace.
- Media Players: VLC, Media Player Classic, or Spotify for music.
- File Compression: WinRAR or 7-Zip.
4. System Optimization and Updates
The Importance: Keeping your system updated and optimized ensures smooth performance and security.
The Action:
- Run Windows Update (or the update tool for your chosen OS) to download and install the latest patches and security updates.
- For Windows users, consider using tools like CCleaner to clean up temporary files and optimize the system registry.
- Regularly check for driver updates, especially for the GPU, as these can offer performance improvements for games and applications.
5. Backup and Recovery
The Importance: Regular backups protect your data from potential failures or unforeseen issues.
The Action:
- Set up a system restore point after all drivers and essential software are installed.
- Consider using tools like Windows Backup or third-party applications like Acronis True Image to create regular backups of your important data.
- Store backups on external drives or cloud storage for added security.
Conclusion
Building and setting up a custom PC is a journey of creativity, technical prowess, and personal achievement. From selecting the right components to ensuring optimal software performance, each step is a testament to the builder’s dedication and passion. Regular maintenance, community engagement, and a willingness to explore new software horizons will ensure that your machine remains a source of pride and productivity. As you venture further into the world of technology, remember to cherish the experience and the endless possibilities your custom-built PC offers. Whether for gaming, content creation, or everyday tasks, your PC is a reflection of your vision and hard work. Embrace the journey and the vibrant community that accompanies it.